Swagger (OpenAPI) について
OpenAPIとは
REST APIのためのAPI記述形式のこと.OpenAPIファイルでは,以下を含むAPI全体を記述することができる.
- 利用可能なエンドポイントと,各エンドポイントでの操作(挙動)
- 各エンドポイントでの入出力パラメータ
- 認証方法
- お問い合わせ先,ライセンス,使用条件など
API使用はYAMLまたはJSON形式で記述可能.
より具体的なOpenAPIの仕様については以下を参照.
OpenAPI-Specification/3.0.3.md at main · OAI/OpenAPI-Specification
Swaggerとは
REST APIの設計,構築,文書化,利用を容易にしてくれる,OpenAPI仕様に基づいて構築されたオープンソースのツールセットのこと.
主なSwaggerのツールは以下.
| ツール名 | 説明 |
|---|---|
| Swagger Editor | OpenAPI定義を記述可能なブラウザベースのエディタ. |
| Swagger UI | OpenAPI定義をインタラクティブなドキュメントとしてレンダリングする. |
| Swagger Codegen | OpenAPI定義からサーバースタブとクライアントライブラリを生成する. |
| Swagger Editor Next (beta) | OpenAPIとAsyncAPI定義の記述・確認が行えるブラウザベースのエディタ. |
| Swagger Core | OpenAPI定義の作成・操作するためのJava関連のライブラリ. |
| Swagger Parser | OpenAPI定義をパースするためのスタンドアロンライブラリ. |
| Swagger APIDom | さまざまな言語やシリアライズ形式のAPIを記述するための,単一の統一された構造を提供する. |
Swaggerの使い方
以下のGitHubリポジトリで今回の実装内容を確認可能.
GitHub - ryuichi-maeda/swagger-practiceContribute to ryuichi-maeda/swagger-practice development by creating an account on GitHub.1.Dockerによる環境構築
Swagger Editorのみを使いたいのであれば,上のサイトで可能.
今回は以下3つを使用したかったため,Dockerでの環境構築を行った.
- Swagger Editor
- Swagger UI
- Swagger API mock server (Prism)
構成
.
├─ openapi
│   └── openapi.yaml
└─ docker-compose.yml
docker-compose.yml作成
version: '3.9'

services:
  swagger-editor:
    image: swaggerapi/swagger-editor
    container_name: 'swagger-editor'
    ports:
      - '8001:8080'

  swagger-ui:
    image: swaggerapi/swagger-ui
    container_name: 'swagger-ui'
    ports:
      - '8002:8080'
    volumes:
      - ./openapi/openapi.yaml:/openapi.yaml
    environment:
      SWAGGER_JSON: /openapi.yaml

  swagger-api:
    image: stoplight/prism:3
    container_name: 'swagger-api'
    ports:
      - '8003:4010'
    command: mock -h 0.0.0.0 /openapi.yaml
    volumes:
      - ./openapi/openapi.yaml:/openapi.yaml
openapi.yaml作成
openapi: 3.0.3

info:
  title: Open API Tutorial
  description: This is a tutorial of Open API
  version: 0.0.0

servers:
  - url: https://example.com
    description: プロダクション環境
  - url: http://{host}:{port}
    description: 開発環境
    variables:
      host:
        default: localhost
      port:
        default: '8003'

paths:
  /api/v0/users:
    get:
      operationId: getUsers
      summary: ユーザ一覧の取得
      description: ユーザ一覧の取得
      parameters:
        - name: email
          in: query
          description: メールアドレス
          schema:
            type: string
        - name: name
          in: query
          description: 名前
          schema:
            type: string
      responses:
        200:
          description: Success
          content:
            application/json:
              schema:
                title: Persons
                type: array
                items:
                  title: Person
                  type: object
                  properties:
                    id:
                      type: string
                      description: ユーザID
                      example: chellwo
                    email:
                      type: string
                      description: メールアドレス
                      example: chellwo@example.com
                    name:
                      type: string
                      description: 名前
                      example: chellwo
    post:
      operationId: createUser
      summary: ユーザ作成
      description: ユーザ作成
      parameters:
        - name: email
          in: query
          description: メールアドレス
          schema:
            type: string
          required: true
        - name: name
          in: query
          description: 名前
          schema:
            type: string
          required: true
      responses:
        201:
          description: Created
          content:
            application/json:
              schema:
                title: Person
                type: object
                properties:
                  id:
                    type: string
                    description: ユーザID
                    example: chellwo
                  email:
                    type: string
                    description: メールアドレス
                    example: chellwo@example.com
                  name:
                    type: string
                    description: 名前
                    example: chellwo
  /api/v0/users/{id}:
    get:
      operationId: getUser
      summary: ユーザ取得
      description: ユーザ取得
      parameters:
        - name: id
          in: path
          description: ユーザID
          schema:
            type: string
          required: true
      responses:
        200:
          description: Success
          content:
            application/json:
              schema:
                title: Person
                type: object
                properties:
                  id:
                    type: string
                    description: ユーザID
                    example: chellwo
                  email:
                    type: string
                    description: メールアドレス
                    example: chellwo@example.com
                  name:
                    type: string
                    description: 名前
                    example: chellwo
今回は,わざわざエンドポイントごとに /api/v0 を入れて書いているが,本来ならば server: に一括で指定したい.しかしそうするためには,以下の記事にあるように,現状はPrism以外のツールを使う必要がある模様.
起動
docker-compose up -dこれで以下3つのコンテナサーバーが立ち上がる.
| Name | URL |
|---|---|
| Swagger Editor | http://localhost:8001/ |
| Swagger UI | http://localhost:8002/ |
| Swagger API mock server (Prism) | http://localhost:8003/ |
2.Swagger利用フロー
Swagger Editor
http://localhost:8001/ にアクセスすると,下のようなSwagger Editorが開く.
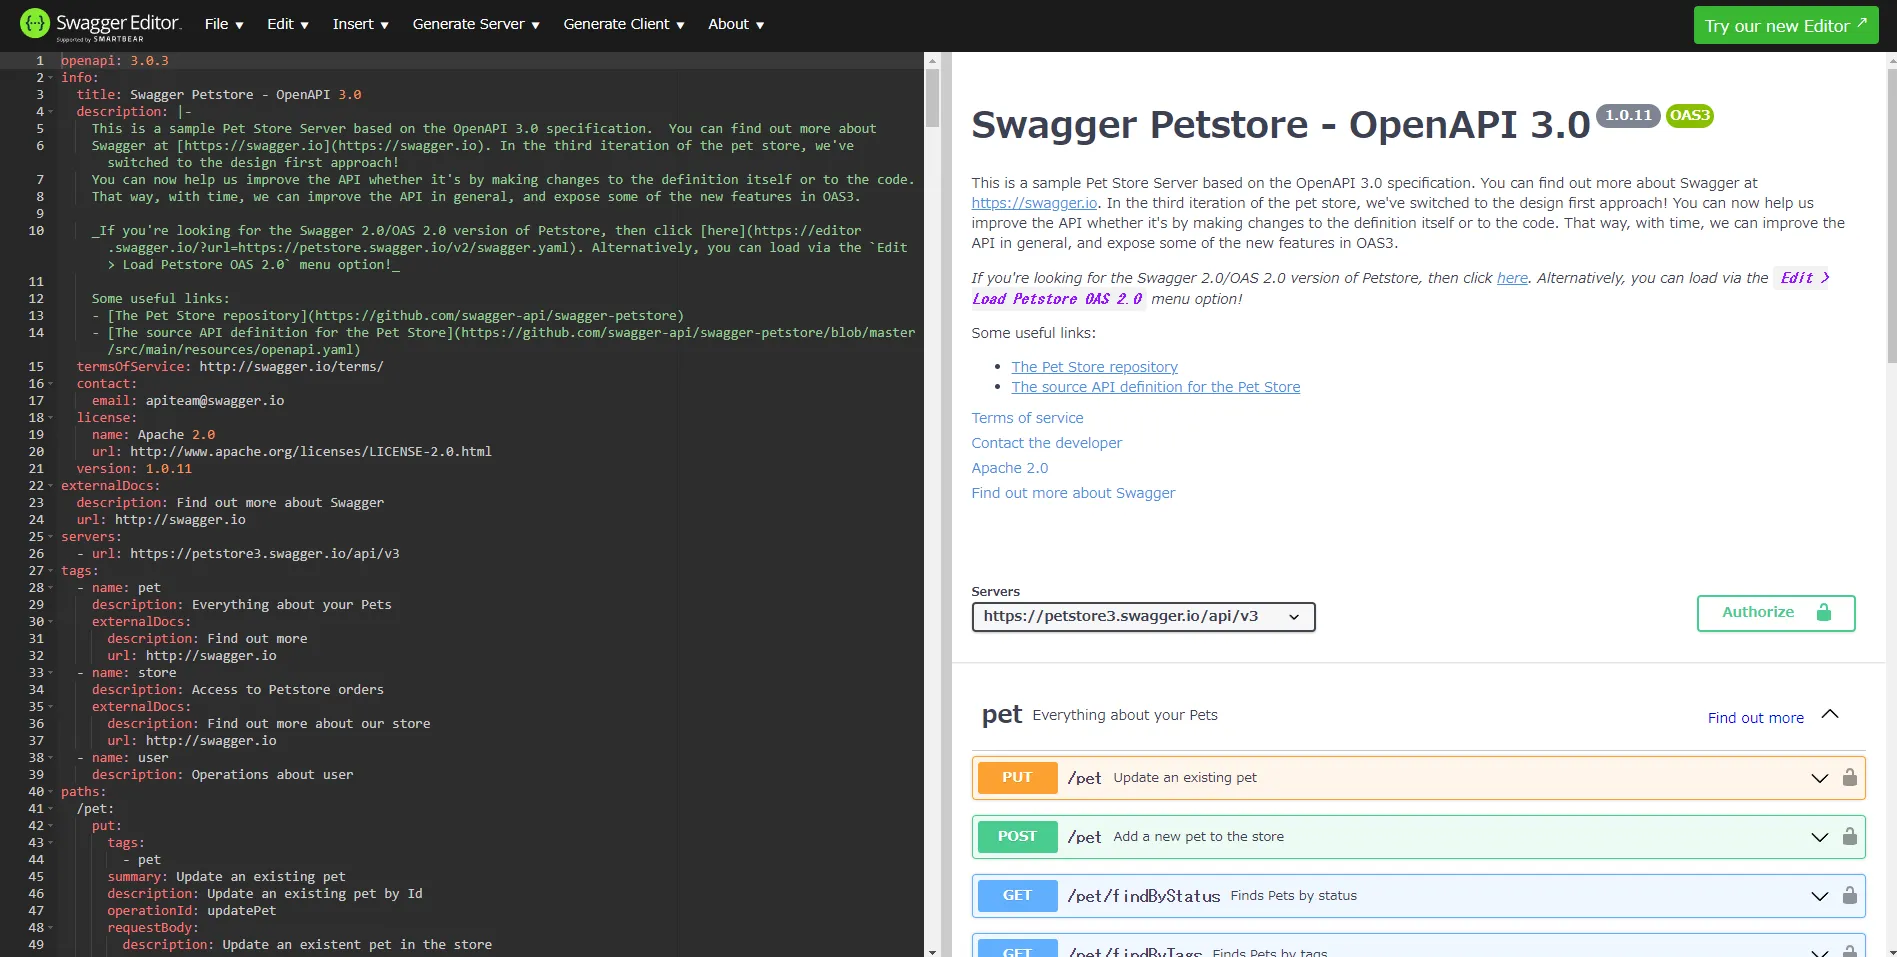
左のエディタでOpenAPIの定義を記述すると,左側にSwagger UIと同様のものが表示され,確認することができる.Swagger記法とOpenAPI記法は若干異なるため,調べるときに注意が必要だが,Swagger Editorでは,記法に誤りがあると指摘してもらえる.
書き方については以下の記事が参考になる.
作って理解する OpenAPI 3.0 / connexion - Qiita
ReadableなOpenAPI定義ファイルを書く - ドワンゴ教育サービス開発者ブログ
Swagger Codegen
Swagger Editorでは,ヘッダーの「Generate Server」「Generate Client」タブから,定義したOpenAPIをもとにサーバー・クライアントのコードを生成することもできる.多くの言語に対応している.
Swagger UI
http://localhost:8002 にアクセスすると,下のようなSwagger UIが開く.
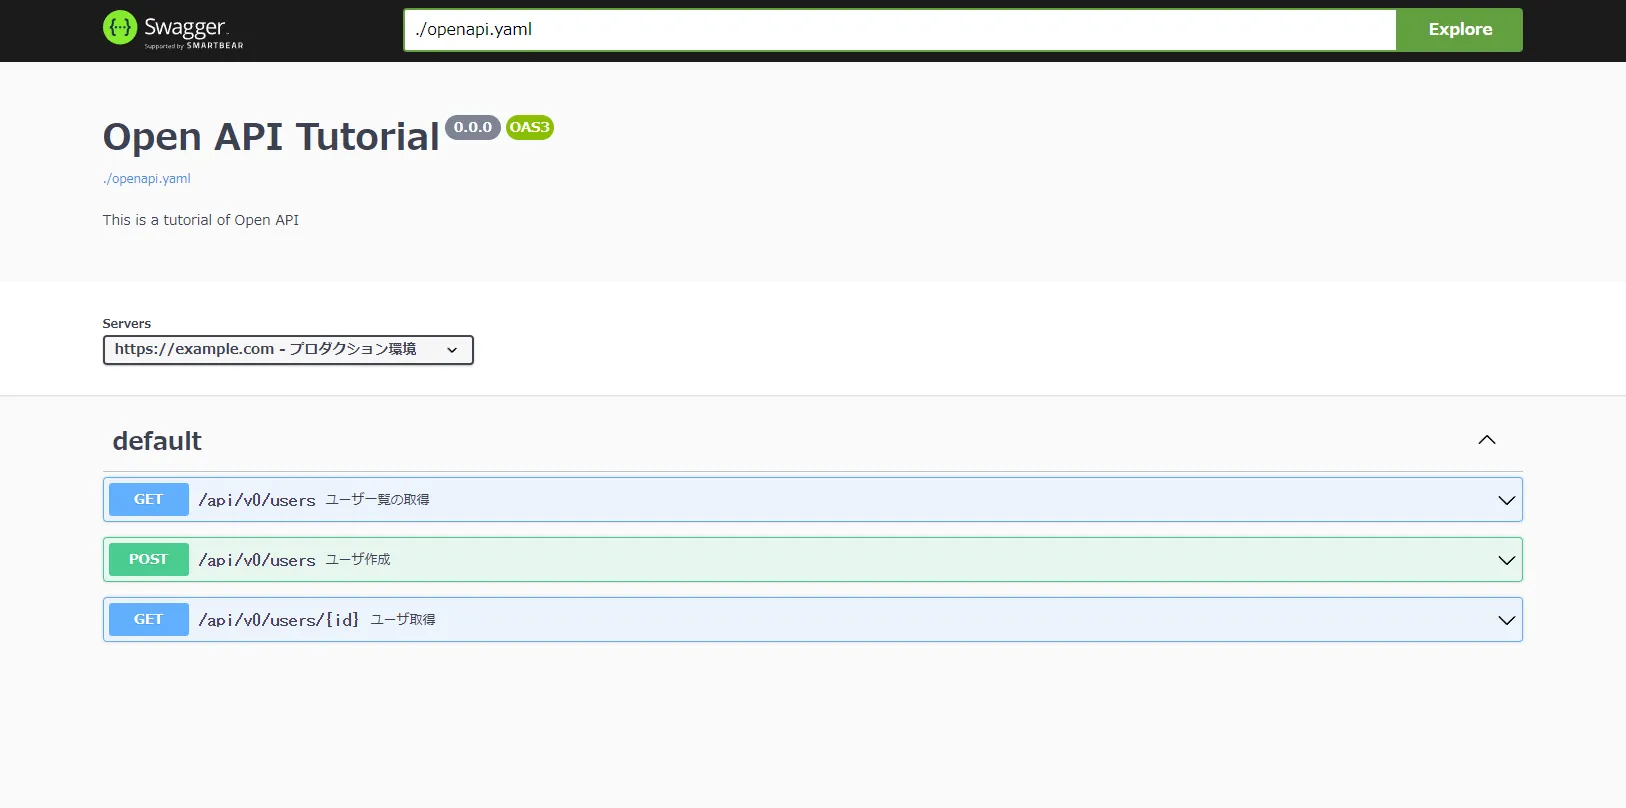
Swagger Editorで編集した内容を openapi.yaml ファイルに反映し,Swagger UIをビルドしなおすと,変更が反映される.
各エンドポイントの概要を確認できるだけでなく,以下の流れで特定サーバーのAPIをたたくことも可能.
- 「Servers」のセレクトボックスから,動作確認をしたいサーバーを選択.
- たたきたいAPIエンドポイントをクリックし,アコーディオンを開く.
- 「Try it out」ボタンを押す.
- 必要なパラメータを入力.
- 「Execute」を押す.
Swagger API mock server (Prism)
単なるモックサーバーなので,http://localhost:8003/ を開いても,以下の404レスポンスが返ってくるだけ. openapi.yaml ファイル編集後は,Swagger UIと同様にビルドしなおす必要がある.
{"type":"https://stoplight.io/prism/errors#NO_PATH_MATCHED_ERROR","title":"Route not resolved, no path matched","status":404,"detail":"The route / hasn't been found in the specification file"}OpenAPIで定義したエンドポイントにリクエストすれば,適切なレスポンスを得られる.
例えば今回のOpenAPIの定義でいうと,以下のようにするとよい.
$ curl http://localhost:8003/api/v0/users
[
  {
    "id": "chellwo",
    "email": "chellwo@example.com",
    "name": "chellwo"
  }
]